Blog
Your hub for online workplace learning—find inspiration, exciting news, and informative posts about L&D and e-learning topics.

Featured blog posts

Articulate 360 Ranked a Top 10 Product in G2 Winter 2026
The Articulate 360 platform recently ranked Top 10 out of 180K products in G2’s most recent report. Read on to explore the results.
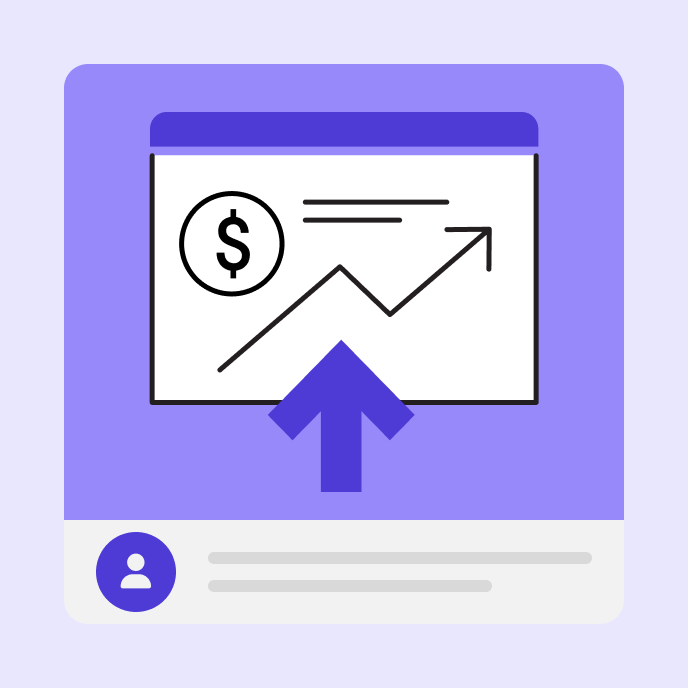
Key Employee Performance Metrics You Should Track in 2026
Explore the essential employee performance metrics for 2026 and see how tracking the right data can boost both results and engagement.

Articulate Wins TrustRadius 2026 Buyer’s Choice Award
Articulate has earned the 2026 TrustRadius Buyer’s Choice Award. Read on to learn what this means to customers.
Explore the blog
Content Type
Topic
What Is Information Processing Theory?
Discover how Information Processing Theory shapes learning, memory, and training, plus tips for applying it in classrooms, corporate programs, and tech.

AI-Powered Adaptive Learning: How Personalization Really Works
Discover how AI adaptive learning personalizes training for every employee and how to create adaptive learning experiences today.

The 5 Top Benefits of Adaptive Learning
Adaptive learning transforms training with personalized paths, real-time feedback, and data-driven insights to maximize engagement and results.
Announcing New Articulate Features and Updates: Q2 2026
Explore the latest Articulate 360 feature updates, including Skip-Ahead Quizzes, AI Tutor, and editing AI images.

Sales Discovery Questions: Examples, Frameworks, and Training Tips
Explore key sales discovery questions that your sales team can ask to uncover a prospect’s goals, pain points, and suitability for company products.

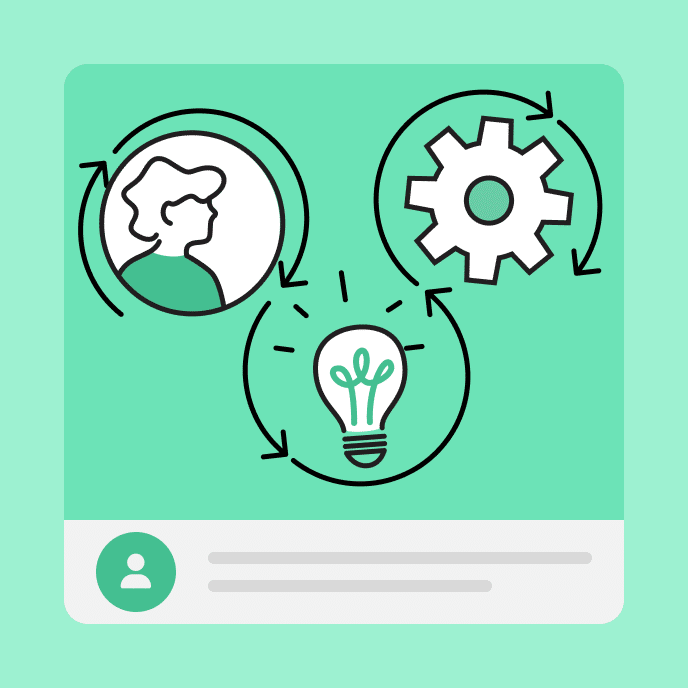
How AI Helps L&D Scale Quality Training Across Your Organization
Learn how leading L&D teams use AI to guide learning strategy rather than cede it—without quality concessions.
How to Level Up Sales Communication Training With Active Listening
Explore sales communication training techniques to produce better sales conversations, increase sales cycle efficiency, and build client rapport.

Improve Employee Soft Skills Training to Future-Proof Your Team
Future-proof your team with a soft skills training program that increases employee retention, creates a positive company culture, and boosts your productivity.

From Training to Readiness: How Andrew Sims at USAA Reinvented Frontline Training
Explore the essential employee performance metrics for 2026 and see how tracking the right data can boost both results and engagement.